Summary:
You spotted it during a routine check, or maybe you finally investigated that musty smell drifting down from upstairs. Either way, there’s mold in your attic, and now you’re weighing your options.
The internet is full of conflicting advice. Some sources make it sound like a weekend project. Others treat every mold spot like a biohazard crisis. The truth sits somewhere in between, and it depends entirely on what you’re actually dealing with.
This isn’t about scaring you into hiring someone or pretending you can bleach your way out of a serious problem. It’s about understanding when you can realistically handle attic mold removal yourself and when that approach creates bigger problems than it solves. Let’s start with what actually causes mold to take hold in attics.
What Causes Mold Growth in Attics
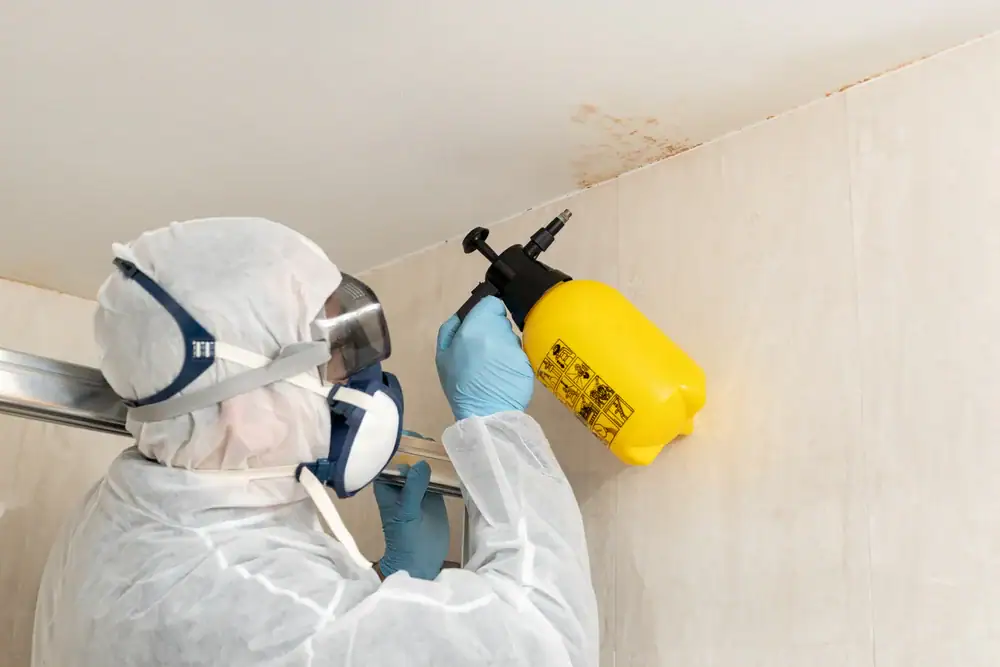
Mold doesn’t just appear randomly. It needs three things to grow: moisture, organic material to feed on, and temperatures between 60-80°F. Your attic checks all those boxes more often than you’d think.
The moisture usually comes from roof leaks, poor ventilation, or condensation. In Milwaukee County, ice dams are a major culprit during winter months. When warm air escapes through a poorly sealed attic, it melts roof snow. That water refreezes at the colder eaves and forces its way under shingles, creating leaks that feed mold colonies you won’t see until spring.
Poor ventilation traps humid air from bathrooms and kitchens that rises into the attic. Without adequate exhaust, that moisture condenses on cold surfaces like roof sheathing and framing. Proximity to Lake Michigan compounds this issue for many Milwaukee homes, where elevated ambient humidity creates mold-friendly conditions year-round even without a visible water event.
How to Tell If Your Attic Has a Mold Problem
Visible mold is the obvious sign, but it’s not always the first one. You might notice a persistent musty odor in upper-floor rooms, especially in closets or bedrooms near the attic access. That smell is mold releasing volatile organic compounds as it grows.
Check your attic for dark stains on wood surfaces, particularly the underside of roof sheathing. Black, green, or white discoloration indicates active growth. Rusted nails are another telltale sign. If the nails holding your roof sheathing look corroded, you have moisture problems creating the perfect environment for mold.
Damp or compressed insulation is a red flag. Insulation should be dry and fluffy. If it feels wet, looks matted down, or has visible discoloration, moisture has been present long enough for mold to establish itself. Don’t ignore health symptoms either. Persistent coughing, headaches, or allergy-like reactions that improve when you leave the house can indicate mold exposure from your attic affecting your indoor air quality.
The challenge with attic mold is that by the time you see it, the problem has usually been developing for weeks or months. Mold can begin growing within 24-48 hours after water exposure, but it often stays hidden behind insulation or in wall cavities until conditions allow it to spread to visible surfaces. That’s why a small visible patch often signals a much larger hidden problem.
Understanding the Moisture Source Behind Attic Mold
Cleaning visible mold without fixing what caused it is pointless. The growth will return within weeks, and you’ll be right back where you started. Identifying and eliminating the moisture source is the most critical step in attic mold removal, whether you’re doing it yourself or hiring professionals.
Roof leaks are the most common culprit. Missing or damaged shingles, deteriorated flashing around chimneys and vents, or compromised roof penetrations allow water to seep in during rain or snow melt. In Milwaukee’s harsh winters, ice dams force water under shingles that would otherwise shed it properly. Inspect your roof at least twice a year, looking for missing shingles, damaged flashing, and areas where water could penetrate.
Ventilation problems create moisture even without leaks. Bathroom and kitchen exhaust fans that vent into the attic instead of outside dump humid air directly into the space. That moisture condenses on cold surfaces during winter, creating water that feeds mold growth. Check that all exhaust fans vent through the roof or soffit, not into the attic cavity.
Inadequate attic ventilation prevents moisture from escaping. Mid-century homes in Milwaukee often have ventilation design issues where warm humid indoor air enters the attic but has no adequate path out. It condenses on roof sheathing and framing, creating persistent mold problems. Proper ventilation requires both intake (soffit vents) and exhaust (ridge vents or gable vents) to create airflow that carries moisture out.
Condensation from temperature differences is harder to spot but just as damaging. When warm moist air from living spaces hits cold attic surfaces, water condenses and drips onto insulation and framing. This happens more frequently in homes with insufficient insulation or air sealing between living spaces and the attic. The solution requires improving insulation and sealing air leaks, not just removing mold.
When DIY Attic Mold Removal Makes Sense
The EPA provides clear guidance: DIY mold removal is appropriate for areas smaller than 10 square feet on non-porous surfaces. That’s roughly a 3-foot by 3-foot patch. If your mold problem is smaller than that, accessible, and growing on hard surfaces like exposed wood framing, you can likely handle it yourself with proper safety precautions.
The key word is “proper.” DIY doesn’t mean grabbing a spray bottle of bleach and a paper towel. Disturbing mold releases thousands of spores into the air. Without containment and protection, you’re exposing yourself to respiratory irritants and potentially spreading the problem to other areas of your home.
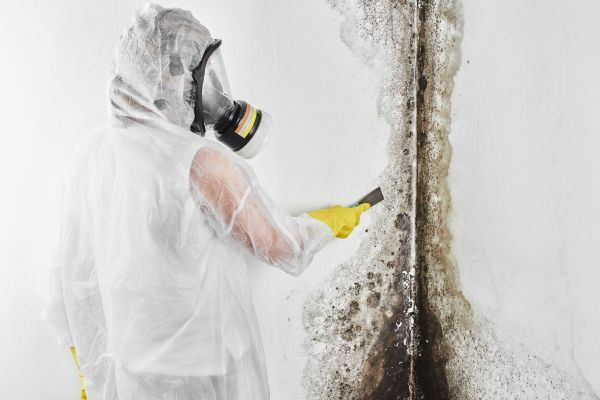
You need an N-95 respirator at minimum. Not a dust mask. Those don’t filter mold spores. Add safety goggles, disposable gloves that extend past your wrists, and coveralls or old clothes you can throw away after cleaning. Set up a box fan in an attic window pointing outward to create negative pressure that pulls contaminated air outside instead of letting it drift into living spaces.
The DIY Mold Removal Process Step by Step
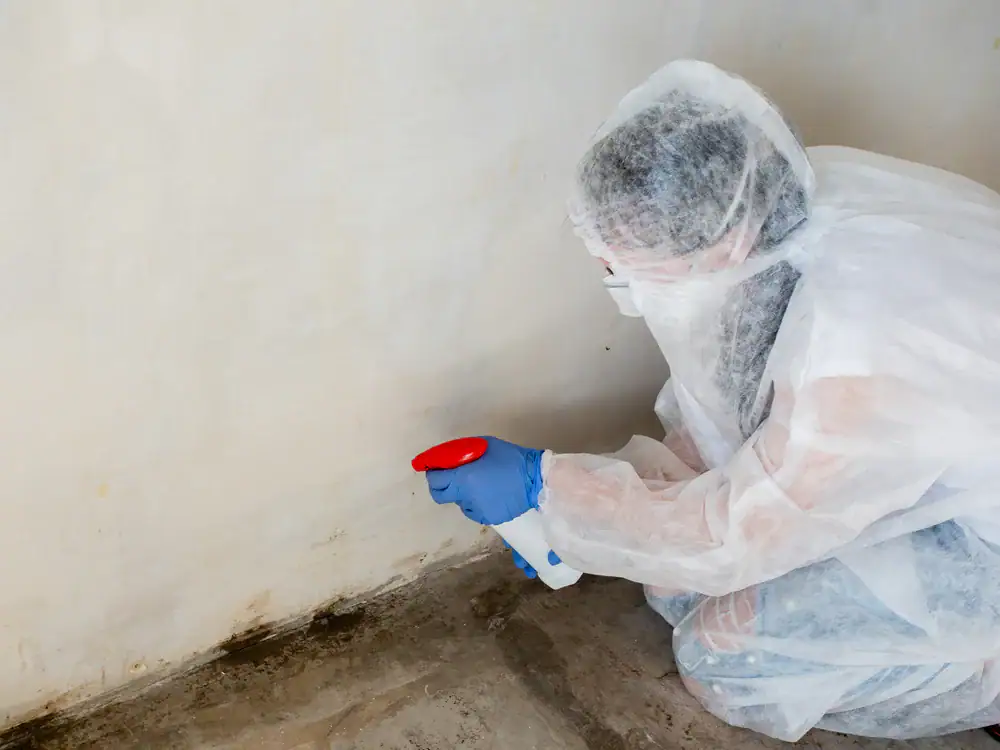
Start by fixing the moisture source. This cannot be emphasized enough. If you clean mold without eliminating what caused it, you’re wasting your time. Repair the roof leak, improve ventilation, or address whatever is introducing moisture. Let the area dry completely before attempting removal.
Contain the work area as much as possible. Seal the attic access with plastic sheeting and tape to prevent spores from drifting into living areas. If you have HVAC ducts in the attic, shut off the system while you work. Open windows or vents to create airflow toward the outside.
Clean the affected area with a detergent solution and water. Bleach is not recommended for porous materials like wood because it doesn’t penetrate deeply enough to kill root structures. A solution of detergent and water, or a commercial mold cleaner, works better. Scrub thoroughly with a brush or sponge, removing all visible growth. Rinse with clean water and dry completely.
For small surface patches, this approach can work. But understand its limitations. You can’t see mold growing inside insulation, behind drywall, or within porous materials. DIY cleaning addresses what’s visible on exposed surfaces. If mold has penetrated into materials or spread behind surfaces you can’t access, DIY removal won’t solve the problem.
Dispose of contaminated materials properly. Bag any sponges, rags, or porous materials in heavy-duty garbage bags, seal them, and throw them away. Shower immediately after leaving the attic to remove spores from your skin and hair. Monitor the area over the following weeks for signs of regrowth.
When DIY Attic Mold Removal Fails
DIY attempts fail for predictable reasons, and understanding them helps you avoid costly mistakes. The most common failure is incomplete removal. You clean visible mold on exposed surfaces, but miss growth hidden in insulation, behind sheathing, or in wall cavities. Within weeks, the mold returns because you only addressed symptoms, not the full extent of contamination.
Inadequate moisture control is the second major failure point. You remove mold but don’t fix the roof leak, improve ventilation, or address condensation issues. The conditions that created mold remain, so new growth appears quickly. Professional remediation always includes identifying and correcting moisture sources because without that step, remediation is temporary.
Spore spread during cleaning creates new problems. Without proper containment and filtration, disturbing mold releases spores that travel through your HVAC system or drift into living areas. You might successfully clean one spot while inadvertently contaminating your entire house. This is why containment barriers and HEPA filtration are standard in professional remediation.
Health exposure is a real risk that homeowners often underestimate. Mold spores irritate eyes, nose, throat, and lungs. Some species produce mycotoxins that cause more serious reactions. Without proper respiratory protection, you’re inhaling concentrated spores while working in a confined attic space. People with asthma, allergies, or compromised immune systems face even greater risks.
Finally, DIY fails when the problem is simply bigger than it appears. What looks like a small patch on the surface often extends into insulation, behind walls, or along framing. Without moisture meters, thermal imaging, or experience identifying hidden growth, homeowners miss the full scope of contamination. By the time the extent becomes obvious, the damage is significantly worse than if professionals had been called initially.
Mold in Carpet from Water Damage
Carpet mold from water damage requires immediate professional assessment. Unlike hard surfaces where DIY cleaning might work, carpet and padding are porous materials that trap moisture and provide ideal conditions for rapid mold growth. If carpet has been wet for more than 48 hours, mold has likely established itself not just in the carpet fibers but in the padding and potentially the subfloor beneath.
The challenge with carpet mold is that you can’t see the full extent of growth. Mold may be visible on the surface in severe cases, but more often it’s growing underneath where you can’t detect it until the smell becomes overwhelming or health symptoms appear. By that point, the contamination has spread beyond what surface cleaning can address.
Professional assessment determines whether carpet can be saved or needs replacement. Small areas of growth caught within 24-48 hours might be salvageable with steam cleaning and complete drying. But if mold has grown on more than one area, penetrated the padding, or been present for an extended period, replacement is usually necessary. Trying to save heavily contaminated carpet creates ongoing health risks and odor problems that cleaning cannot fully resolve.